
The cabinets are the stagehands in the culinary drama that is the kitchen. They are equipped with the necessary equipment, cookware, and spices to run the show. However, it’s understandable that worn-out kitchen cabinets would appear to be ready for their curtain call after a demanding schedule of back-to-back performances that might run for years.
However, keep in mind that there is always one more step to perform before a curtain call: refinishing. Do this before you send your chipped, damaged, or obsolete cabinets into retirement.
A high-quality refinishing process will maintain the condition of your kitchen cabinets and increase the longevity of its finish, according to Hunter Macfarlane, a Lowe’s Project Expert.
What To Understand If You’re Working Alone
The first thing you should consider if you think you’re capable of taking on a challenging home project, such as refinishing kitchen cabinets, is how much time you’ll need to devote to it. Kitchen cabinet refinishing, according to Macfarlane, can need four to eight weekends, or between 60 and 130 hours. The length of time required may vary based on the size of your kitchen and the complexity of the work. Additionally, bear in mind that while you are working on this project, your kitchen may not be usable.
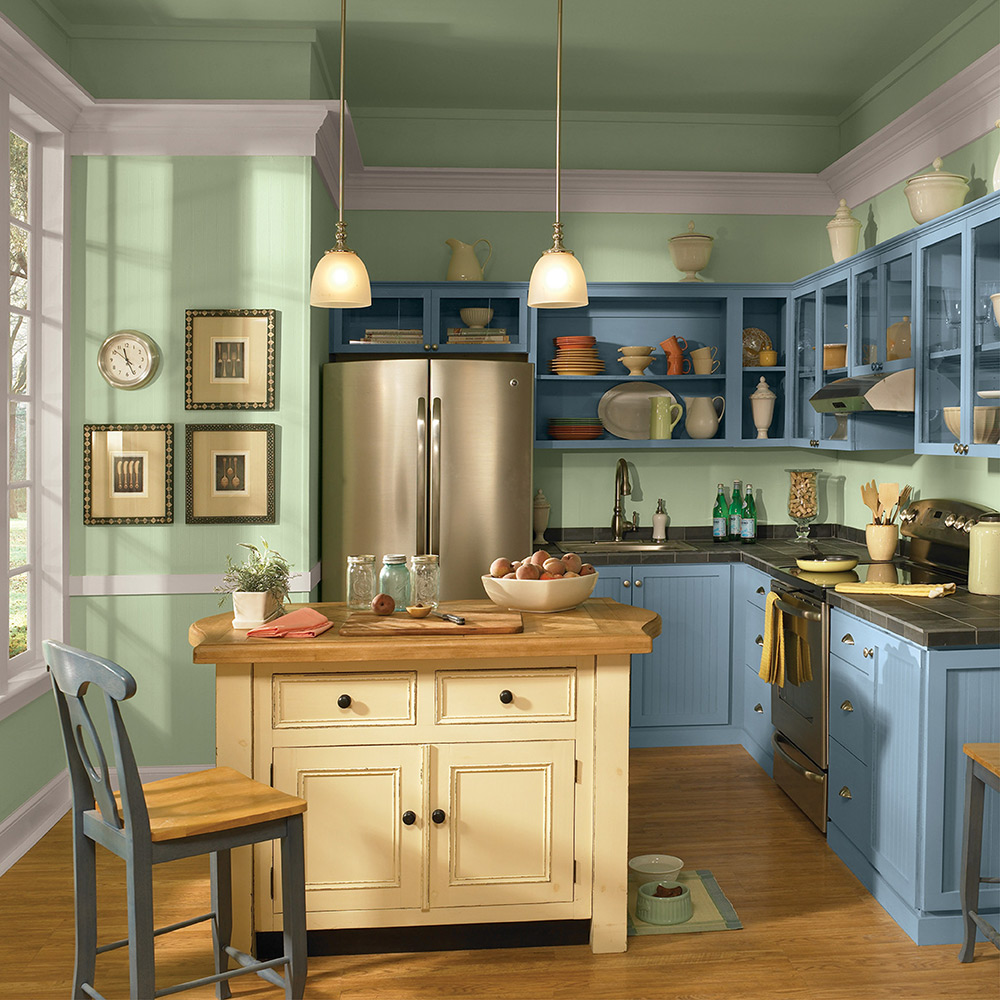
Recolor Kitchen Cabinets
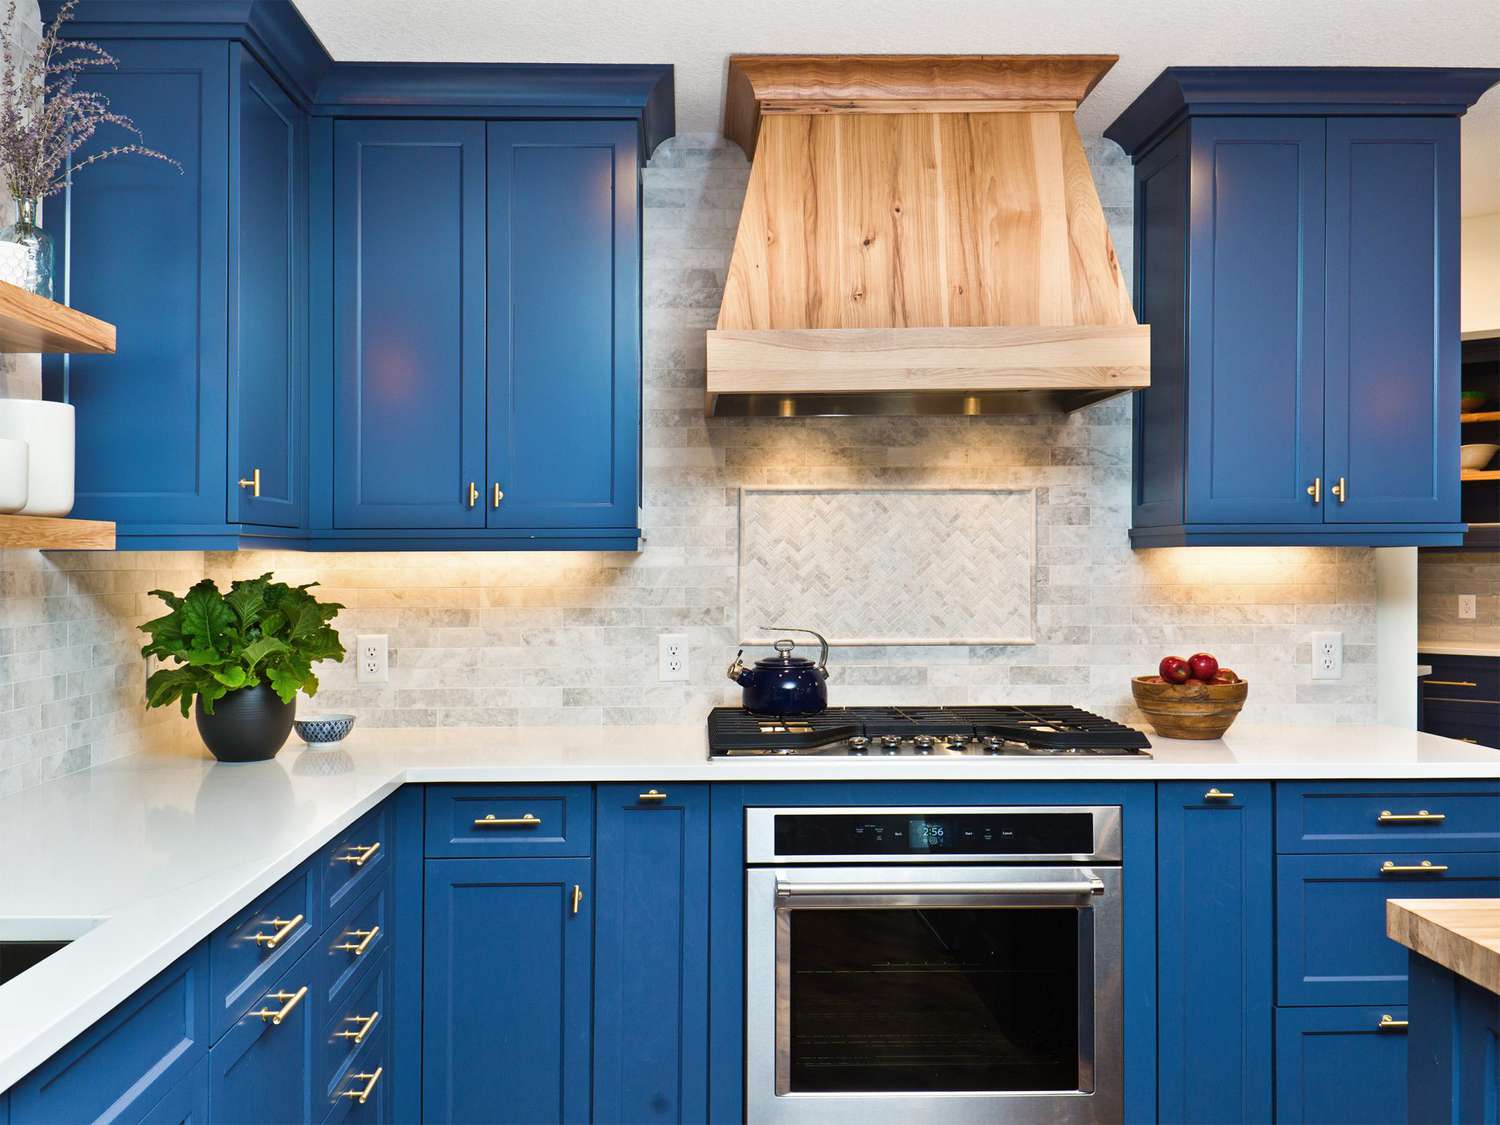
Due to the black cabinets’ ability to completely block out light, your kitchen feels like a cave. However, a more cheery makeover does not include replacing those dreary boxes with brand-new ones. If the door and frame frames are structurally good, you may clean them up, apply a fresh coat of paint, and transform the kitchen from gloomy to cheery in a single weekend with cabinet restoration. Check out how to Paint Kitchen Cabinets for comprehensive step-by-step directions, a shopping list, and a list of required supplies.
Tidy Up The Surfaces
Macfarlane suggests beginning this repair by giving your kitchen cabinetry a good cleaning before you undertake any refinishing. To accomplish this, gently take the cabinets from the walls, wipe them off, and allow the wood to thoroughly dry.
To help you remember where to put the cabinet doors back, he advises labelling or numbering them. “Avoid sanding off or painting over the markings while painting or sanding. Additionally, the hinge holes must line up for you to know which door fits where.
Keep the remainder of the kitchen and yourself safe.
Drop cloths should be spread out on the counters and used to cover the floors and appliances as well. When using a wood cleaner, remember to wear gloves and eye protection.
Make The Hardware Wet
Macfarlane suggests soaking them in a sizable bowl of soapy water for 30 minutes because the hardware probably also needs to be thoroughly cleaned. Before rinsing, he advises, “You may give them a little scrub with a soft brush.” After cleaning, let the hardware thoroughly dry. Apply a polish next, and allow the pieces to dry once more.
Put Plastic Wrap On Your Serving Utensils
The ideal place to keep utensils is in your silverware organiser, which you should cover with plastic wrap. The next-best alternative is to keep them in gallon-sized bags, but they are vulnerable to punctures and can be challenging to handle securely. But be very careful with the knife. To avoid harm, put those in a different container.
During Your Renovation, Switch To Disposable Plastic Dishes
You shouldn’t often go in and out of the kitchen when redesigning it. You’ll be washing ceramic dishware. Therefore, buy disposable plastic cutlery, bowls, plates, and other things you’ll need instead, and store your dishes for the time being.
Cabinets Should Be Stripped And Refinished
Your cabinets should now be stripped, which may be a challenging step in the process. Begin by ensuring that your workstation is well-ventilated, ideally outside.
Knowing what kind of finish is already on the wood will help you choose the appropriate stripping agent for your cabinets. For instance, Macfarlane claims that you will need to apply a few drops of turpentine to the wood if you believe the cabinetry has a wax finish. You are accurate if the answer disintegrates. Shellac, lacquer, paint, vinyl, polyurethane, varnish, penetrating oil, and a water-based finish are further options. Each of these finishes has special requirements for removal and maintenance.
Paint, Sand, And Prime The Wood
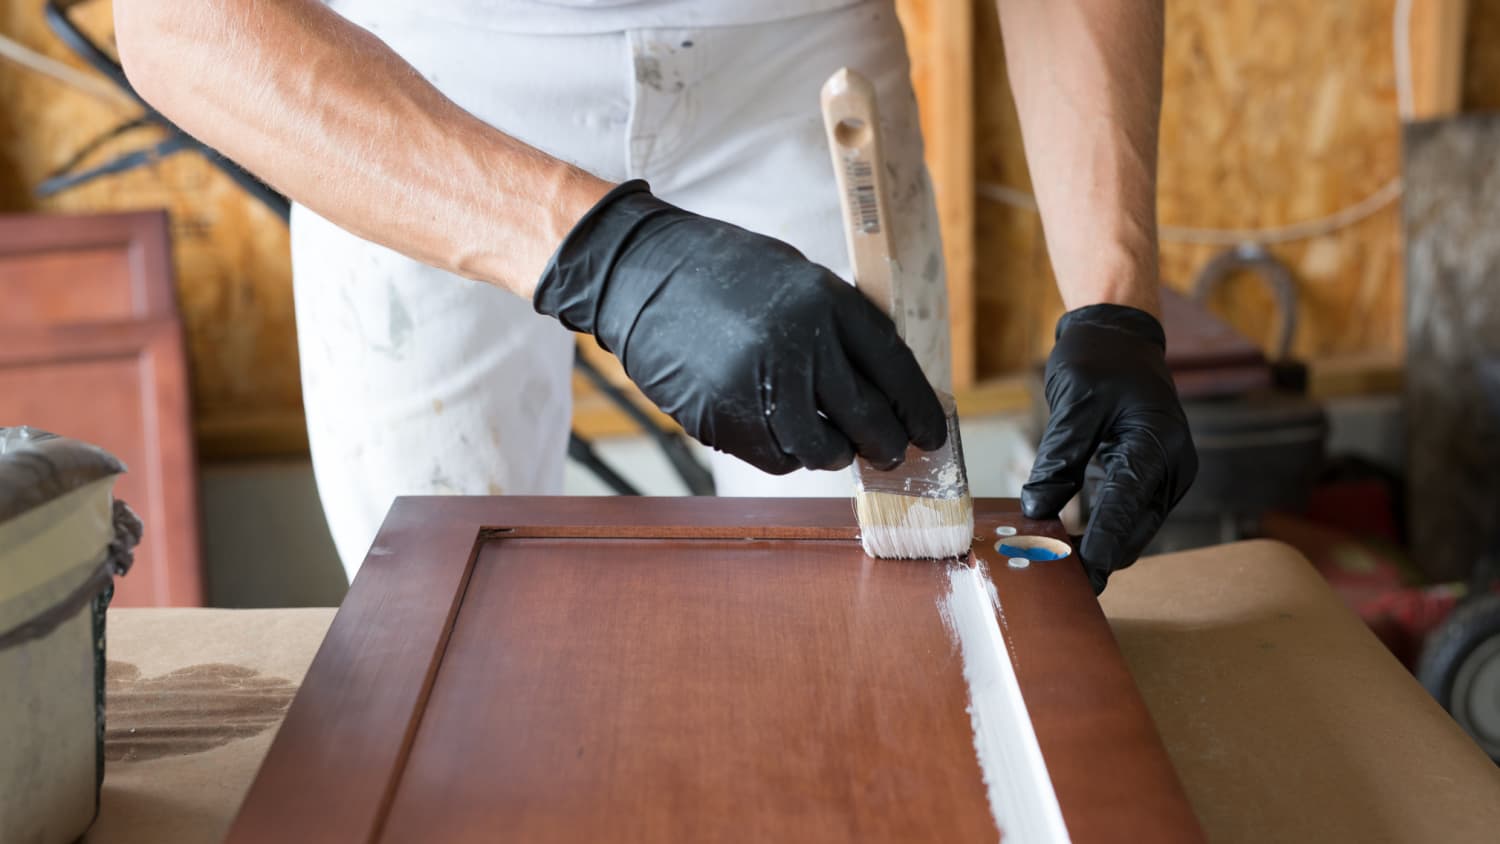
After you’re done with the stripping agent, fill up any holes or scratches in the wood using wood filler. Once the patch has dried, you may lightly sand it down. It’s better to complete this task outside because the remaining cabinets has to be sanded as well, as was already explained. Finally, give the cabinetry a fresh coat of paint, keeping in mind that the wood may expand in cold or hot conditions. If the weather has revealed unfinished wood, apply another coat. Carefully replace the kitchen cabinets and its hinges when the paint has had time to dry.
Sort Everything You Use Frequently And Keep It Nearby
Make sure the products you use most regularly are always close at hand. Move everything you frequently use to a corner of your room, such as your coffee machine, juicer, or toaster oven. Since they will be used frequently, you won’t need to crate them.
Empty The Cabinets Of Food
You have a lot more to unload if you’re installing cabinetry. Start with all of the dry ingredients, such as spices and canned fruits, vegetables, soups, and other foods. Put all of your food in one location after finding a spot for it.
Clear Cabinets Of All The Dishes
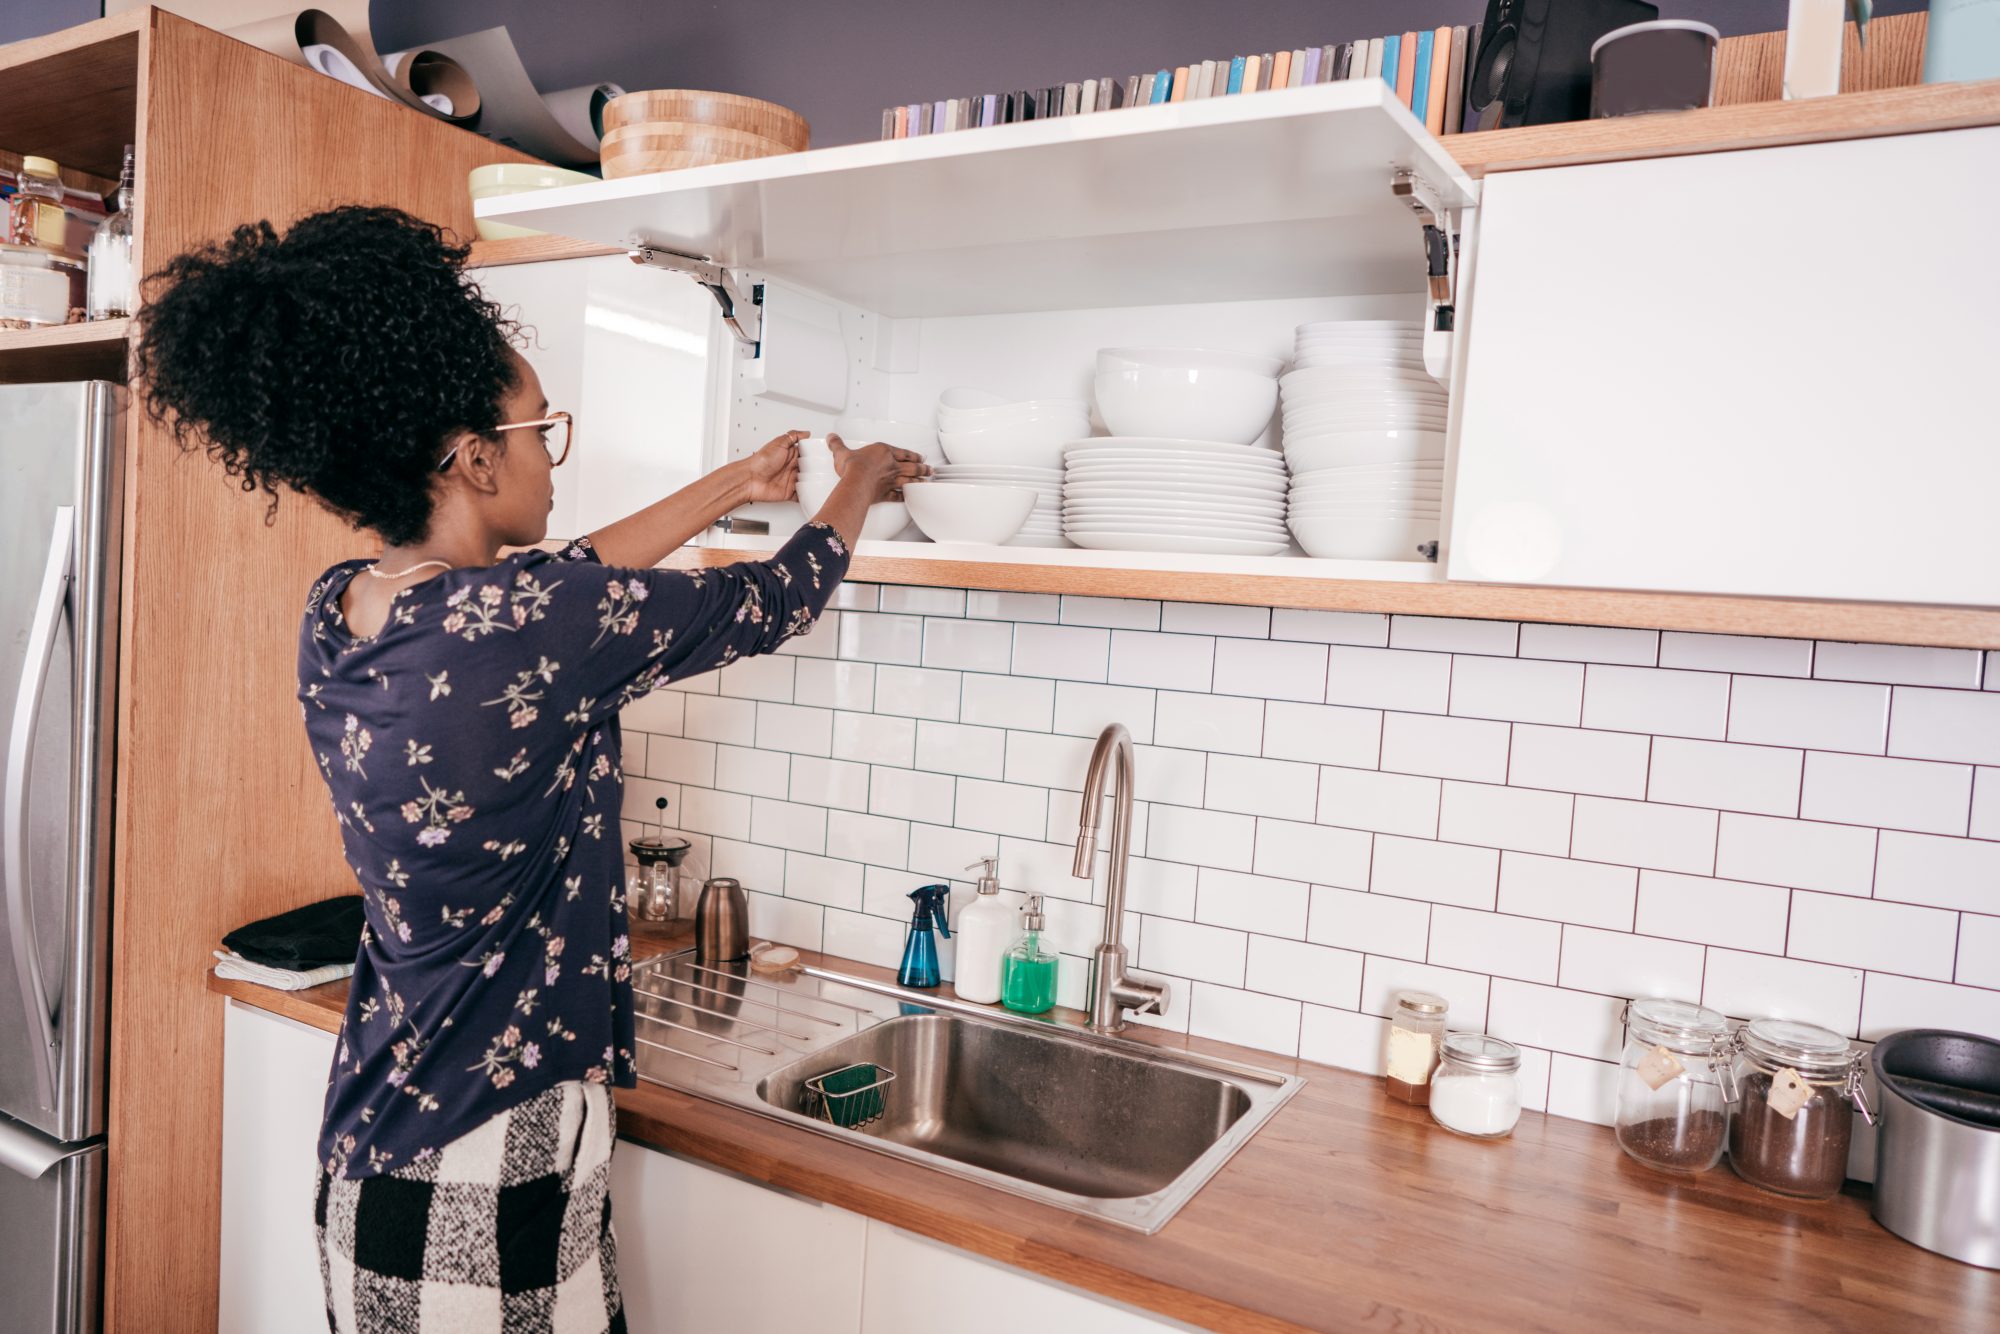
Dishware is the next more delicate item. Organize your dishware and store it all in boxes, just like you did with the food. Put newspaper between the plates to act as a cushion, preventing breakage and scratching. To make a package easier to pick up and transfer, avoid packing it with too many dishes.
Don’t forget to watch the video if you haven’t already! There are several excellent suggestions in there, such as covering your ceramic plates with disposable ones to keep them safe. Purge cabinets of any remaining items (and anything on top of them). Take these out along with everything else that is still in your cabinets.


